When a refrigerator stops making ice or stops dispensing water, most owners assume the ice maker or the dispenser has failed. In practice the water inlet valve behind the fridge is the more common fault, and it is both cheaper and easier to replace than the mechanism at the front.
The valve is a small solenoid assembly with one inlet and two outlets, one to the ice maker and one to the dispenser. When the control board energises a coil, the valve opens and water flows. When the coil fails, or the valve sticks, nothing arrives — and the symptom looks identical to a dead ice maker.
Which symptoms point at the valve
| Symptom | Likely cause | Test |
|---|---|---|
| Neither ice nor water works | Main valve body or supply | Check supply first, then coil |
| Water works, ice does not | Ice-maker solenoid coil | Measure across the ice coil |
| Ice works, water does not | Dispenser solenoid coil | Measure across the dispenser coil |
| Slow fill, weak stream | Clogged screen or low pressure | Clean the inlet screen |
| Buzzing but no water | Coil energised, valve stuck | Replace the valve |
The pattern of which function still works is the most useful diagnostic you have. The valve has two independent coils on a shared body, so a failure in one coil leaves the other side working perfectly. If water flows but ice does not, you have narrowed the fault to one coil before you have touched a tool.
Before testing anything electrical, confirm the water supply is on, the saddle valve or shut-off is open, and the supply line is not kinked behind the fridge. A surprising share of 'failed valves' are simply a closed supply.
Testing the valve with a multimeter
| Step | What to do | Expected result |
|---|---|---|
| 1. Unplug the fridge | Pull the plug, do not just switch off | No power at the valve |
| 2. Access the valve | Remove the rear access panel | Valve visible near the supply line |
| 3. Disconnect terminals | Note the wire positions | Wires labelled or photographed |
| 4. Measure each coil | Ohms across the coil terminals | Typically 200–500 ohms |
| 5. Compare sides | Ice coil vs dispenser coil | Similar resistance on both |
| 6. Check for leaks | Inspect the body and fittings | Dry, no mineral staining |
A healthy solenoid coil reads a few hundred ohms. A reading of zero means a shorted coil; a reading of infinity, or OL, means an open coil and a dead valve. The most useful comparison is between the two coils on the same valve: if one reads normally and the other reads open, you have found the fault and can proceed to replacement with confidence.
While you have the panel off, look for a water-damaged valve body, green corrosion on the terminals or mineral crust around the fittings. These indicate a slow leak that has been running for a while, and they are a reason to replace the valve regardless of what the meter says.
Check Price on Amazon →Fitting the new valve
- Shut off the water supply and unplug the refrigerator.
- Place a towel under the valve and have a small container ready.
- Disconnect the supply line and the two outlet tubes, noting which goes where.
- Photograph the wiring before removing the terminals.
- Unbolt the valve bracket and remove the old valve.
- Fit the new valve, reconnect the tubes and terminals exactly as photographed.
- Turn the supply on slowly and check every joint for weeping before restoring power.
- Run the dispenser for a minute, then discard the first two batches of ice.
Work slowly on the tube connections, because the plastic fittings become brittle with age and the tubes are often the original ones from the factory. A cracked fitting turns a twenty-minute valve swap into a second repair, and replacements may need to be ordered.
What the repair costs
| Item | Typical cost | Notes |
|---|---|---|
| Water inlet valve | $25–$60 | Model-specific, widely available |
| Supply line | $8–$15 | Replace if the old one is brittle |
| Push-fit fittings | $5–$12 | Only if an original cracks |
| Service call, if you call one | $120–$200 | Plus the part |
| Total DIY | $30–$75 | About an hour of your time |
This is one of the clearest cases where DIY pays. The part is inexpensive, the access is straightforward on almost every model, and the job is entirely mechanical once the supply is off. The main risk is not the valve itself but disturbing the supply line, which is why replacing a brittle line at the same time is usually the right call.
If the valve is more than eight years old and one coil has failed, the other is close behind. Fitting a complete valve assembly rather than chasing individual coils costs a little more once and saves a second repair shortly after.
The valve is fed by mains voltage through the control board, and the coils are energised intermittently — so the terminal you are holding may go live while you are holding it. Unplug the appliance and do not rely on the door switch or a control setting.
Frequently asked questions
Ruling out the cheaper causes first
Before ordering a valve, spend ten minutes on the three faults that mimic it: a closed supply, a clogged inlet screen, and a frozen or kinked supply line. All three produce exactly the same symptom as a failed coil and none of them costs a part.
| Check | How | If it fails |
|---|---|---|
| Supply valve open | Follow the line to the shut-off | Turn it fully open |
| Inlet screen | Disconnect the line at the fridge | Rinse the screen |
| Line kinked or frozen | Feel along the line behind the fridge | Reroute or thaw |
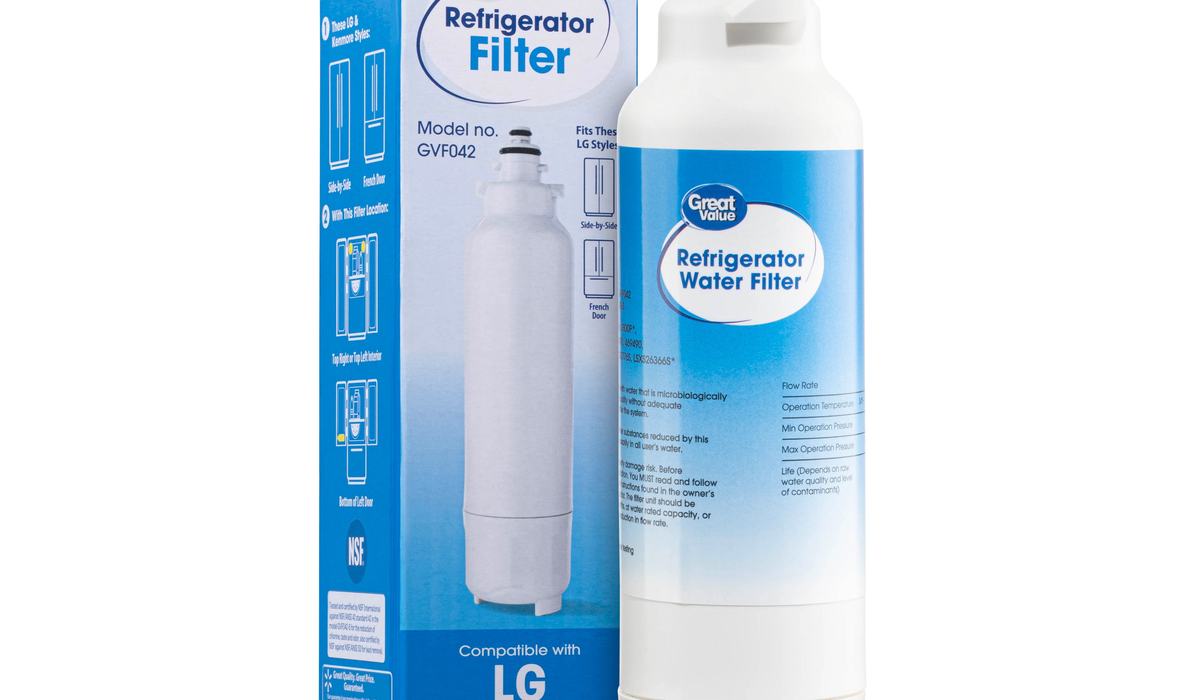
| Filter seated | Reseat the water filter | Refit until it clicks |
| Door switch | Press the dispenser paddle | Check the paddle engages |
Work through these in order because they are free. The inlet screen in particular collects mineral deposits over years and can reduce flow to a trickle or stop it entirely, while the valve itself is perfectly healthy.
Only once the supply is confirmed good and the screen clean does the valve become the prime suspect, and at that point the multimeter test in the main guide will confirm it in a few minutes.
After the repair
| Task | Why |
|---|---|
| Run the dispenser 2 minutes | Clears air from the line |
| Discard first two ice batches | Removes loosened sediment |
| Check joints after 24 hours | Slow weeps appear late |
| Note the part number | Speeds up any future repair |
The first water after any valve work will sputter and run cloudy, which is air leaving the line rather than a fault. Let it run until the stream is steady and clear, then discard the first ice batches so that any sediment loosened during the repair does not end up in a glass.
Recheck the fittings a day later. A joint that looked dry immediately after reassembly can weep slowly once the system is under normal pressure and temperature cycling, and catching it early is far cheaper than discovering it on the floor.