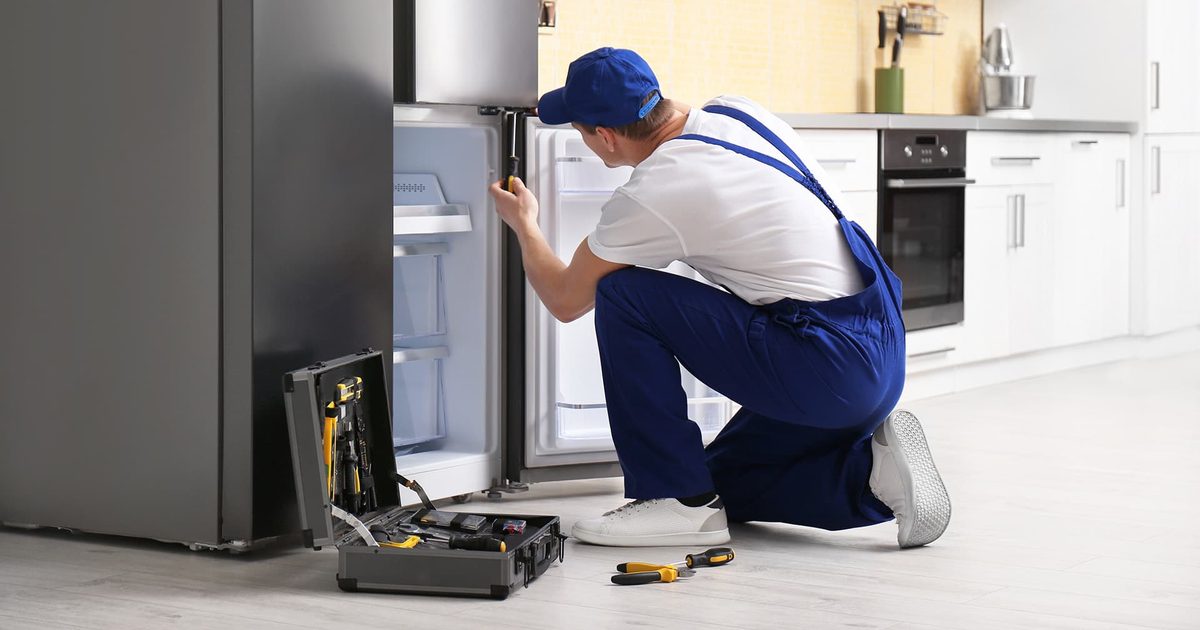
A refrigerator door gasket is a long flexible seal that runs around the door and presses against the cabinet when the fridge is shut. It is the reason the cold air stays inside. When it hardens, splits, or loses its magnetic grip, the fridge cannot hold temperature, so the compressor runs more or less continuously.
It is also one of the most repair-friendly faults in a fridge: the part costs $25–$60, the job needs no refrigerant work, and a patient first-timer can do it in under an hour.
- The dollar-bill test: close the door on a banknote at several points around the frame.
- If the note pulls out easily, the gasket is not sealing at that point.
- If it is gripped firmly all round, the gasket is fine and the fault lies elsewhere.
- Feel for warm air escaping around the door edge.
- Look for visible cracks, black mould lines or a gasket that is no longer flat.
On this page
Confirm the gasket is the fault
Before buying a part, prove the gasket is the problem rather than the door alignment, the hinge or the fridge itself.
| Test | How to do it | What it tells you |
|---|---|---|
| Banknote test | Close the door on a note at 6 points around the frame | Where the seal fails |
| Flashlight test | Put a light inside, close the door, look for escaping light | The full length of any gap |
| Paper test | A sheet of paper should resist being pulled out | Seal grip at that point |
| Hinge check | Look for a door that sags or drops | A hinge fault, not a gasket fault |
| Level check | Is the fridge leaning back slightly? | Door closing force |
| Temperature check | Thermometer in the compartment | Whether cooling is actually affected |
A gasket rarely fails all at once. It hardens over years, seals less completely, and the compressor quietly runs longer to compensate. The first symptom is usually a higher electricity bill or a fridge that never quite shuts off in hot weather — long before anyone notices warm food.
Find the right part number
Gaskets are model-specific. A near-fit will leak, and there is no such thing as a universal gasket that works well.
- Find the model and serial plate — usually inside the fridge compartment on a side wall, or behind the crisper drawer.
- Write down the full model number, including any suffix letters.
- Note which door: fresh-food door, freezer door, or both. They are different parts.
- Search the model number plus 'door gasket' on a parts site or the manufacturer's own parts portal.
- Check the part number against a photo of your existing gasket before ordering.
- Consider buying both doors' gaskets if the fridge is over ten years old and one has failed — the other is not far behind.
Gasket types
| Type | How it attaches | Difficulty |
|---|---|---|
| Push-in (channel) | Gasket edge pushes into a groove in the door liner | Easy — no tools |
| Screw-mounted | Held by a series of screws along the inner panel | Moderate |
| Magnetic strip | Magnet built into the gasket profile | Easy once fitted |
| Dual-durometer | Soft inner lip plus firmer outer body | Easy, but fit matters more |
| Universal cut-to-fit | Sold on a roll, cut and joined by you | Hard — a last resort |
The large majority of modern fridges use a push-in gasket, which is the easiest type to replace. The gasket has a flanged edge that presses into a channel moulded into the door liner. You pull the old one out and press the new one in, working around the perimeter to avoid stretching it.
Fitting a push-in gasket
- Unplug the refrigerator or at least switch it off before working on the door.
- Photograph the gasket and the door edge before you remove anything.
- Start at a corner and pull the old gasket out of the channel with your fingers — it should release without tools.
- Warm the new gasket if it has been stored cold: soak it in warm water for a few minutes, or let it sit in a warm room, so it is flexible and flat.
- Start at the top centre and press the flange into the channel, working outward toward both top corners.
- Work down one side, then the other, pressing the flange in a few centimetres at a time.
- Finish at the bottom centre, then check the whole perimeter is seated evenly.
- Do not stretch the gasket as you go — if you pull it taut, it will shrink back and leave a gap at the end.
- Close the door and run the banknote test around the frame.
Do not pull the gasket tight as you fit it. A stretched gasket contracts over the following days and leaves a gap at the far end — usually the bottom corner. Press it in with a small amount of slack so it sits naturally, matching the original.
Fitting a screw-mounted gasket
- Unplug the fridge and remove the door if it makes access easier (get help — doors are heavy).
- Remove the screws along the inner door panel and keep them in a magnetic tray; they are usually all the same size but do not risk it.
- Peel the old gasket away, noting how the corners fold.
- Lay the new gasket over the panel and align the screw holes.
- Refit the panel and screws loosely, working around the perimeter, then tighten.
- Check the corners first — they are where screw-mounted gaskets leak.
- Re-hang the door and adjust the hinge so it closes squarely.
After fitting
- Let it settle for 24 hours before judging the seal; new gaskets take a day to conform.
- Re-run the banknote test at six points after settling.
- Check the fridge temperature with a thermometer — it should now reach 35–38°F without the compressor running constantly.
- A hair-dryer on the cold setting can ease a stiff new gasket into shape at a stubborn corner; keep it gentle.
- Wipe the gasket with a little petroleum jelly where it meets the cabinet — it helps it seat and prevents squeaks.
- Watch for the first month. If a corner lifts, press it back into the channel.
Mistakes that ruin the job
| Mistake | Consequence | Avoid by |
|---|---|---|
| Ordering by appearance, not model number | Wrong curve or length, leaks | Use the model plate |
| Fitting a cold, stiff gasket | Will not seat; corners lift | Warm it first |
| Stretching the gasket while fitting | Shrinks back, leaves a gap | Fit with slack |
| Forcing with a screwdriver | Tears the channel or the gasket | Use fingers only |
| Replacing one door's gasket only | The other door fails weeks later | Replace both on old fridges |
| Judging the seal immediately | Premature disappointment | Wait 24 hours |
| Ignoring a sagging door | New gasket still does not seal | Check and adjust the hinge |
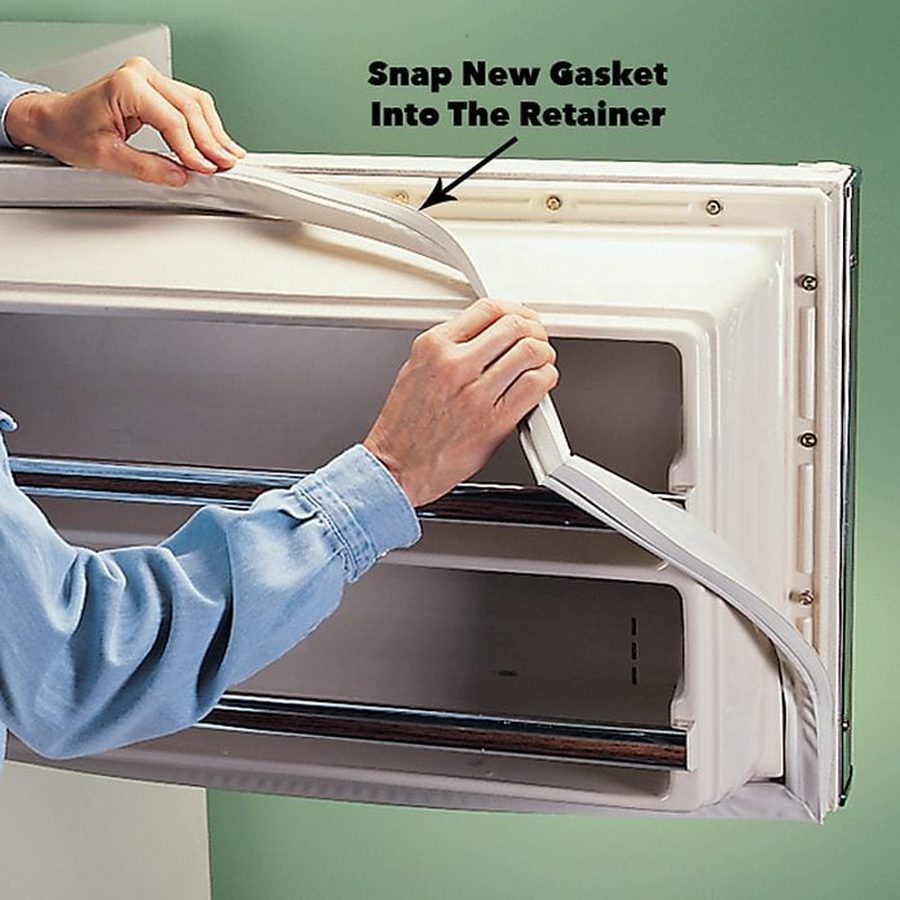
Refrigerator door gasket — buy by model number
The single part behind most 'fridge runs constantly' complaints. Order by the model plate number, warm it before fitting, and do not stretch it.
Check Price on Amazon →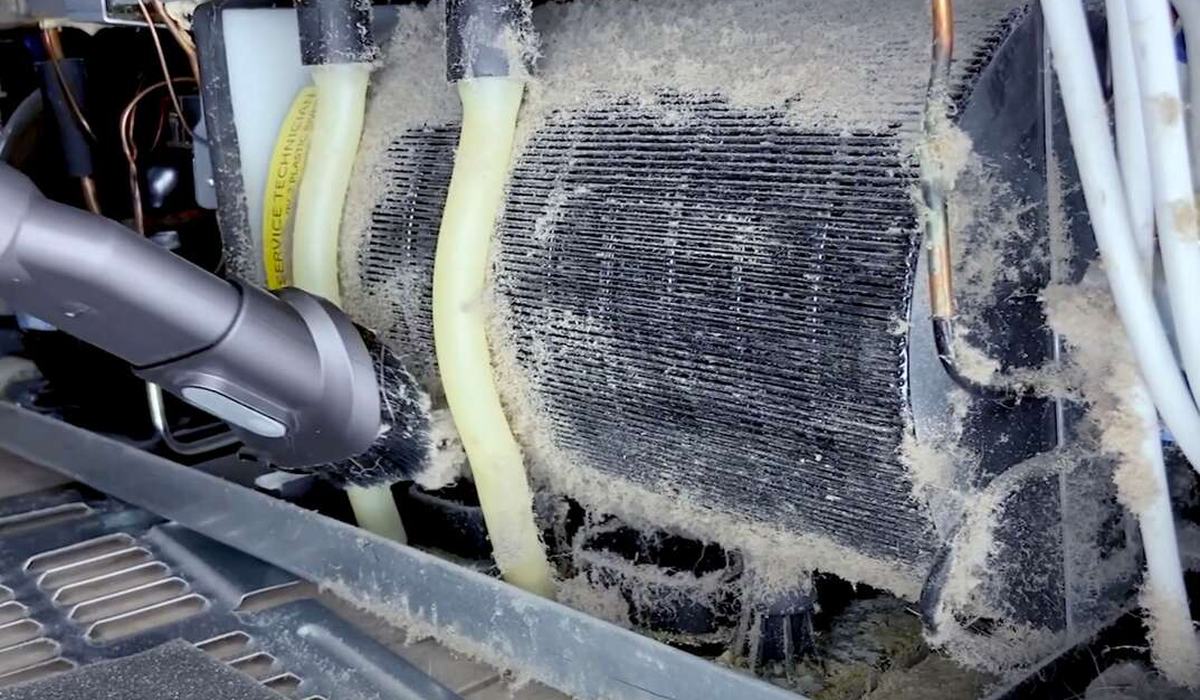
While you are back there: clean the coils
If you have pulled the fridge out to work on the door, clean the condenser coils too. Dirty coils are the other half of a fridge that runs too long.
Check Price on Amazon →Test the gasket with a banknote at six points. If it fails, get the exact part number from the model plate, warm the new gasket, press it in without stretching, and give it 24 hours to settle. That is a $25–$60 repair that fixes a fridge running around the clock.