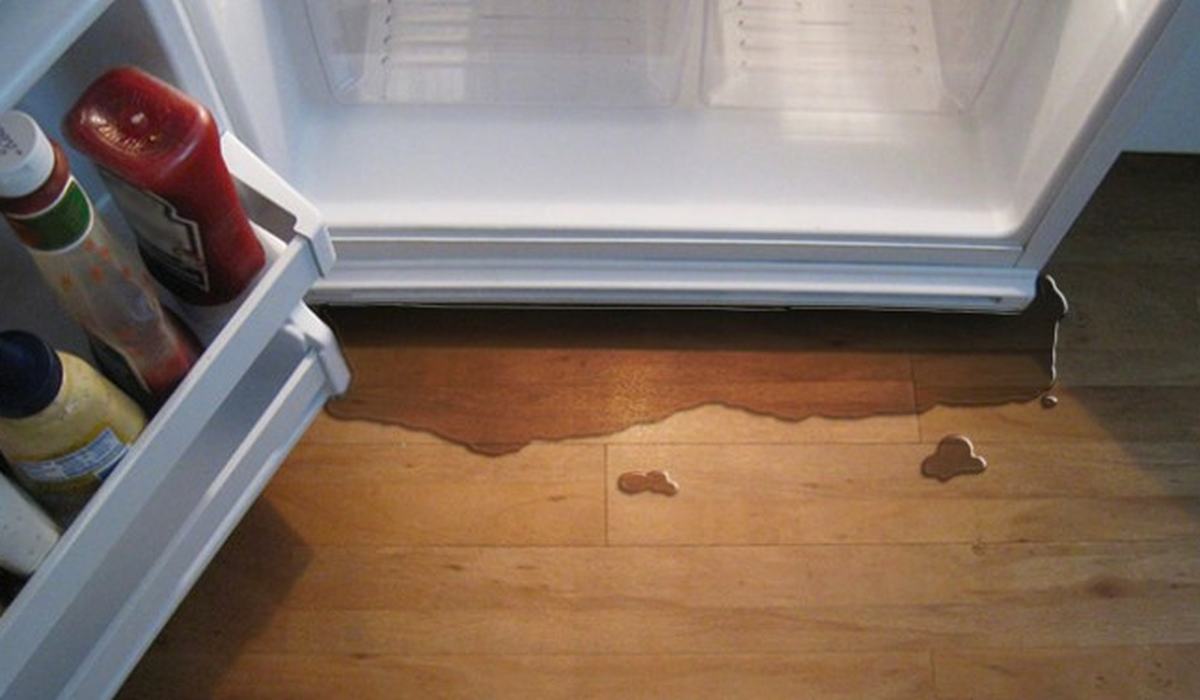
Water on the floor around a refrigerator is a problem worth taking seriously, because it damages flooring quickly and, if it reaches the kitchen electrical outlet, becomes a safety issue. The good news is that the source is almost always one of four places, and the first two are free to check.
If water is anywhere near the fridge's electrical outlet or the plug itself, do not touch the fridge. Turn the circuit off at the breaker first, then unplug. Water plus mains voltage is the one part of this job that is genuinely dangerous.
On this page
The four possible sources
| Where the water appears | Likely source | Cost to fix |
|---|---|---|
| Under the fridge, at the back | Defrost drain or drain pan | $0–$40 |
| Under the fridge, at the front | Door seal condensation, or level | $20–$45 |
| Along the wall behind the fridge | Water supply line or inlet valve | $10–$60 |
| Inside the fridge then over the front | Defrost drain backup | $0 |
1. Defrost drain blockage
This is the most common cause and the cheapest to fix. Meltwater from the automatic defrost cycle should run down a channel and out a tube to a pan under the unit. When it blocks, water overflows inside the fridge and then out the front.
- Symptom: water in the bottom of the fridge or under the crisper, working its way forward.
- Fix: unplug, locate the drain hole on the back wall of the freezer, thaw any ice with warm water from a baster, then clear the channel with a pipe cleaner.
- Never chip ice with a metal tool — you will puncture the evaporator behind the liner.
- Flush the whole tube down to the pan under the unit to confirm flow.
2. Drain pan problems
The pan under the fridge catches the defrost water and lets it evaporate using heat from the compressor. Problems here put water directly on the floor at the rear.
- Cracked pan. Look for cracks and for brittle, scaled plastic. Replacements are cheap and model-specific.
- Misaligned pan. The drain tube must empty into the pan, not behind it. Check after moving the fridge — this is easy to knock out of place.
- Pan overflowing. A heavily scaled pan evaporates poorly. Clean the scale with warm water and vinegar.
- Excess water production. A failing defrost system, or a dirty condenser making the unit run hot, produces more meltwater than the pan can evaporate.
Dry the floor completely, put a paper towel under the front and under the rear of the fridge, and check after two hours. Which towel is wet tells you instantly whether you are chasing a front-of-unit or rear-of-unit leak — and those have entirely different causes.
3. Water supply line and filter
If your fridge has a dispenser or ice maker, it has a pressurised water line. Leaks here are usually slow drips that follow the line and pool at the back.
- Inspect the tubing behind the fridge for kinks, splits, or a crushed section pinched by the cabinet.
- Check the compression fittings at both ends. A quarter-turn with a wrench often fixes a slow weep.
- Check the filter housing — a cross-threaded or incompletely seated cartridge weeps steadily.
- Test the inlet valve for a weeping body or a wet terminal area. Replace if wet.
- Look for the tell-tale: mineral residue (white crust) marks where water has been evaporating for weeks.
4. Door seal condensation
If the water is at the front of the fridge, the door gasket is letting warm humid air in. That air condenses on the cold interior and runs out the front when the door is opened.
- Dollar-bill test around the full gasket perimeter.
- Look for light escaping with a torch inside and the door closed.
- Check the hinge and levelling. A fridge leaning forward can hold the door slightly ajar.
- In humid weather, some condensation is normal — but a stream of water is not.
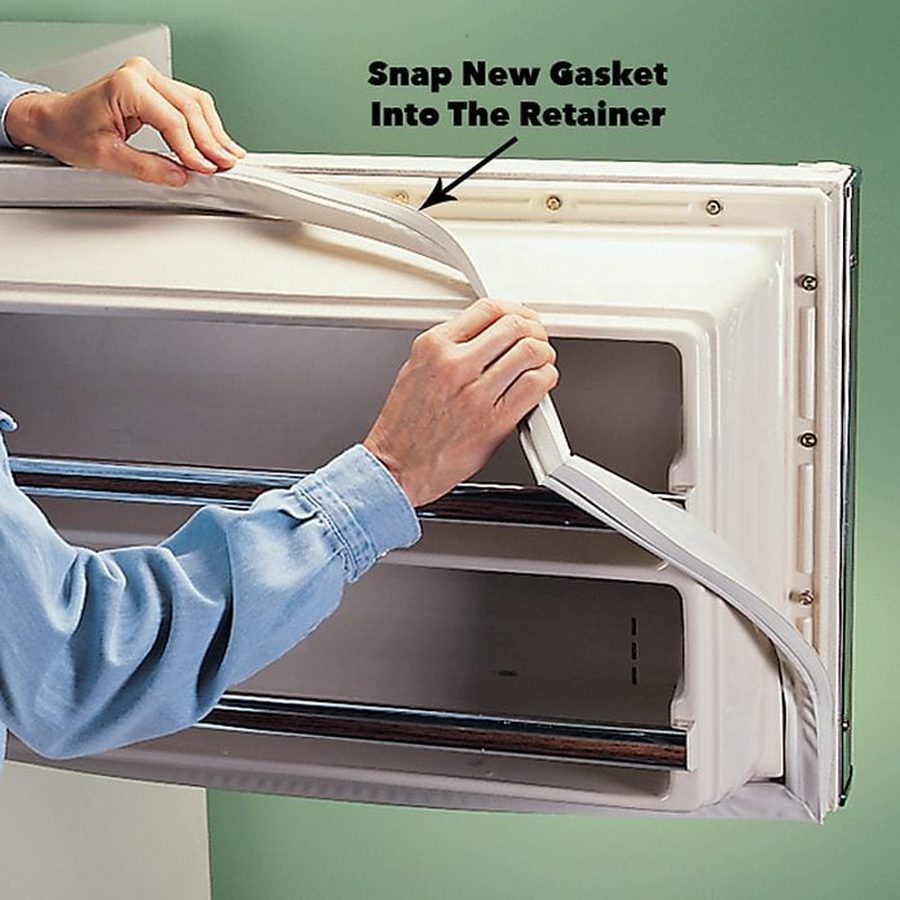
Replacement door gasket — fixes front-of-fridge water
A tired gasket both warms the fridge and causes the condensation that ends up on your floor. Fit it by model number and check the perimeter with a dollar bill afterwards.
Check Price on Amazon →5. Ice maker and dispenser
The ice maker mould can overflow if the fill valve sticks open, sending water down the freezer wall and out of the door. The dispenser chute can also leak if its drain tube is blocked.
- Ice maker overflow: water pooling in the freezer and running forward — a stuck inlet valve.
- Dispenser drip tray drain: the tube behind the dispenser can clog and overflow into the door.
- Ice maker fill tube: a cracked tube sprays inside the freezer wall.
- Check the dispenser by running water and watching underneath it.
6. Level and airflow
A refrigerator should sit very slightly tilted backwards, so the doors close on their own and so meltwater flows toward the drain. If it tilts forward, water flows toward the front instead.
- Check with a spirit level on the top of the unit — front to back, and side to side.
- Adjust the levelling feet at the front until the door closes itself when partly open.
- Pull the unit 5 cm off the wall for airflow. Restricted airflow raises compressor heat, which raises meltwater production.
7. Under-sink supply tap
If the leak is at the back and you cannot find a source on the fridge, check the supply tap under the sink. A weeping saddle valve or a loose compression fitting there can run along the line and appear at the fridge.
- Wrap a tissue around the tap and check it after an hour for damp.
- Tighten the packing nut a quarter turn if it weeps.
- Replace a saddle valve that will not stop dripping — they are a known weak point.
Use the paper-towel test to find whether the water is at the front or the rear. Front means the door seal or the level. Rear means the defrost drain, the pan, or the water line. Three of those four are free or under $45 to fix.