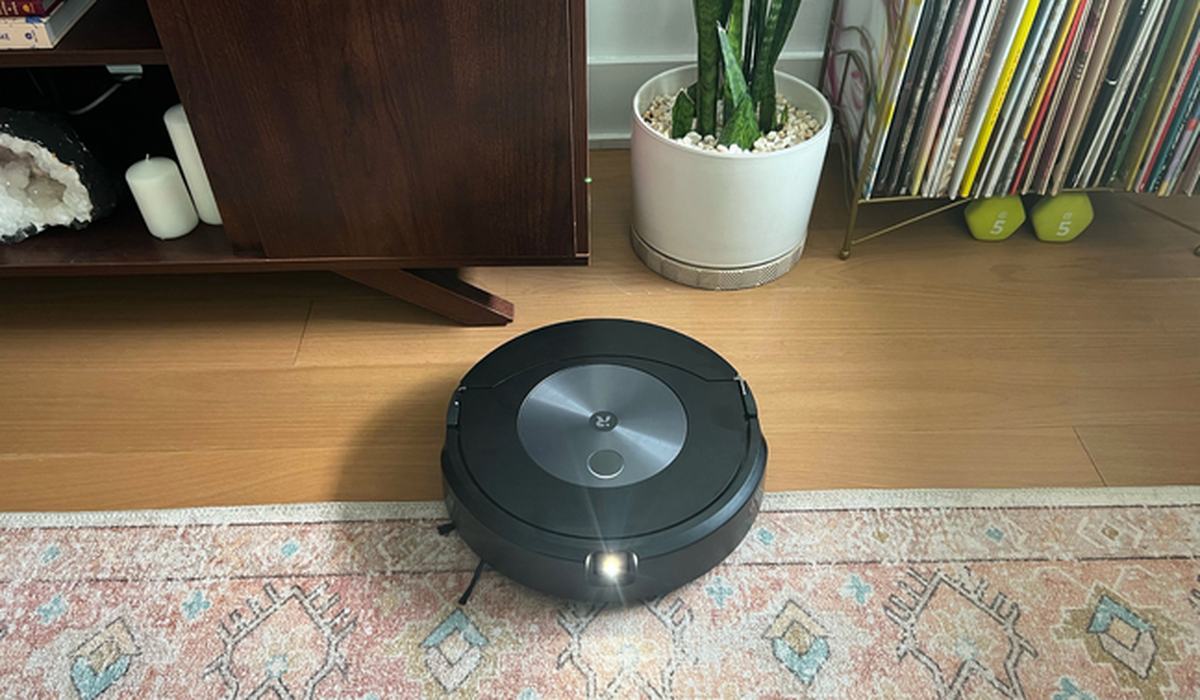
A robot vacuum is a small machine doing a big job, and it clogs faster than a full-size vacuum because its parts are smaller. When it starts leaving debris behind or missing spots, the cause is almost always maintenance, not failure.
This guide covers the full cleaning routine in the right order, plus the schedule that keeps a robot vacuum working for years.
- Every week: empty the bin and clean the brush roll.
- Every month: clean the sensors, wheels and side brush.
- Every 2–3 months: replace the filter (or wash it if washable).
- Every 6–12 months: replace the brush roll and side brush.
- Most common fault: hair wrapped around the brush roll — clean it weekly.
The cleaning order
Work in this order so you do not spread dirt around:
- Empty the bin first, over a trash can.
- Remove and clean the brush roll.
- Clean the side brush.
- Clean or replace the filter.
- Wipe the sensors and charging contacts.
- Clean the wheels and the front caster.
- Wipe the exterior and the bumper.
The brush roll
The brush roll is where most performance loss happens. Hair, string and carpet fibres wrap around it, and once it is bound up, the robot cannot pick up debris. On many models the roll lifts out for cleaning; on others you need a screwdriver.
- Remove the brush roll and pull off all wrapped hair. Use scissors to cut through it rather than pulling, which can damage the bristles.
- Check the end caps for hair wound around the bearings — this is what makes the roll stiff.
- Clean the brush housing where the roll sits; debris collects there.
- Check the side brush for hair wrapped around its base, and straighten bent bristles.
- Reassemble and spin the roll by hand to confirm it turns freely.
Pulling wrapped hair can stretch or break the brush roll's bristles and bearings. Cut through the hair with scissors, then pull it off in sections.
Sensors and wheels
Robot vacuums navigate with sensors, and dirty sensors cause erratic behaviour — bumping into things, missing rooms, or failing to dock. Wipe them with a dry or slightly damp cloth.
| Part | How to clean | Frequency |
|---|---|---|
| Cliff sensors (bottom) | Dry cloth | Monthly |
| Bumper sensors (front) | Dry cloth | Monthly |
| Charging contacts | Dry cloth or pencil eraser | Monthly |
| Drive wheels | Remove hair, wipe | Monthly |
| Front caster | Remove hair, wipe | Monthly |
| Camera/lidar (top) | Dry microfibre cloth | Monthly |
The maintenance schedule
| Task | Frequency | Replacement interval |
|---|---|---|
| Empty bin | After each run | — |
| Clean brush roll | Weekly | Replace every 6–12 months |
| Clean side brush | Weekly | Replace every 6–12 months |
| Clean filter | Monthly | Replace every 2–3 months |
| Wipe sensors | Monthly | — |
| Clean wheels | Monthly | — |
| Deep clean | Quarterly | — |
Following this schedule is the difference between a robot vacuum that lasts two years and one that lasts five. The parts are cheap; the labour is fifteen minutes a week.
Clean the brush roll weekly, the sensors and wheels monthly, and replace the filter every two to three months. Most 'my robot vacuum stopped working' complaints are solved by cleaning the brush roll and filter.
Frequently asked questions
Robot vacuum parts
Keep spare brushes and filters so your robot never sits idle.