On this page
What a capacitor does
A capacitor stores electrical energy and releases it in a burst. In an appliance it has one of two jobs:
- Start capacitor: gives the motor a burst of torque to get turning. If it fails, the motor hums but does not start.
- Run capacitor: keeps the motor running smoothly and efficiently. If it fails, the motor runs hot, slow, or not at all.
In a refrigerator, a failed start capacitor or relay is behind a large share of “fridge won’t start” and “fridge clicks but won’t run” complaints. In a washer, dryer or air conditioner, the same part causes the same symptom. It is a $10–$30 part and one of the highest-value DIY repairs there is.
Discharge it first — this is not optional
A capacitor can hold a dangerous charge long after the appliance is unplugged. Discharge it before you touch the terminals.
- Unplug the appliance at the wall. Do not rely on a switch.
- Wait a few minutes for the internal circuits to bleed down.
- Hold an insulated screwdriver by the handle and bridge the two terminals of the capacitor. You may see a small spark — that is the stored charge discharging.
- Repeat across the terminals once more to be sure.
The test
- Set the multimeter to the capacitance setting, marked with the µF symbol. If your meter does not have one, use the resistance (Ω) setting instead.
- Touch the black probe to one terminal and the red probe to the other. Polarity does not matter for a non-polarised capacitor.
- Hold the probes steady and wait for the reading to settle — a few seconds.
- Note the reading and compare it to the value printed on the capacitor case (for example, 25 µF).
- If using the resistance setting instead: the reading should climb toward infinity as the capacitor charges. A reading that stays at zero means a short; one that stays at infinity means an open circuit. Either way, replace it.
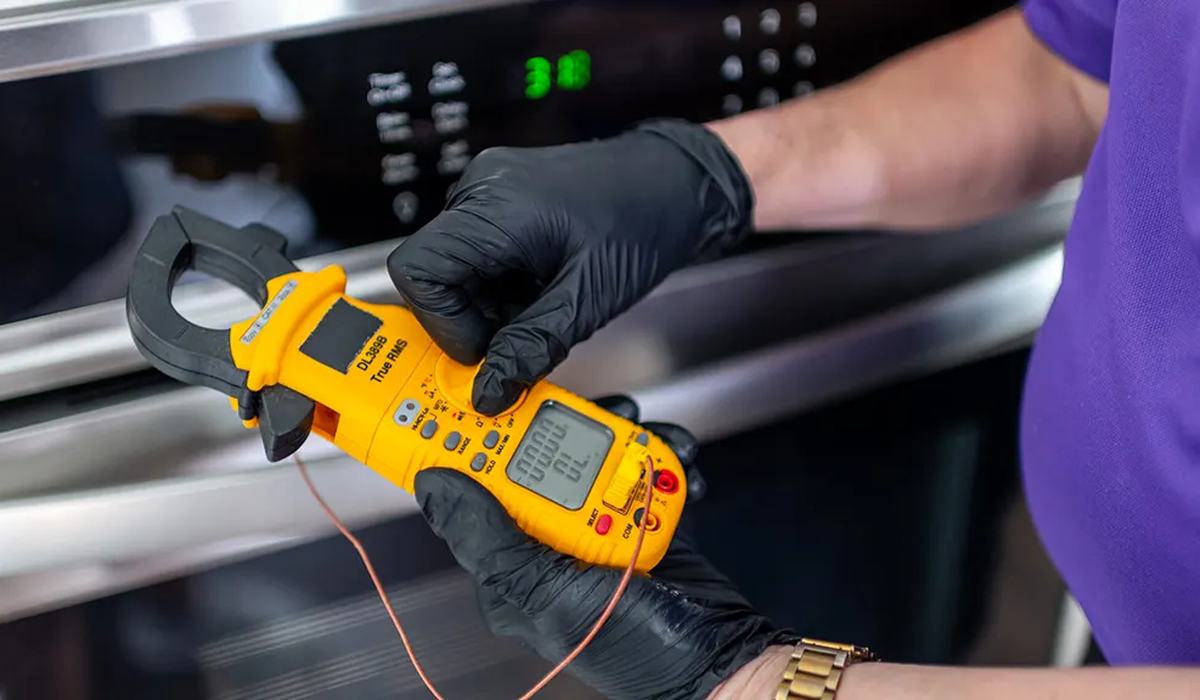
Digital Multimeter with Capacitance
A meter with a dedicated capacitance range makes this test a 30-second job. Auto-ranging and a backlit display help in tight appliance spaces.
Check Price on Amazon →Reading the result
| Reading vs rating | Meaning | Action |
|---|---|---|
| Within 10% | Healthy | Reuse it |
| 10–20% low | Weakening | Replace it — it will fail soon |
| More than 20% low | Failed | Replace it |
| Zero / no reading | Open or shorted | Replace it |
| Bulged or leaking case | Failed | Replace it, regardless of reading |
A capacitor can also fail visually. Look for a bulged top, a leaking or crusty residue, or a burnt smell. Any of those means replace it even if the meter reads correctly.
The appliance link
This is where most generic electronics guides stop, and where the appliance context matters. The test is the same, but the symptom it explains is specific:
| Appliance | Symptom of a bad capacitor | Part |
|---|---|---|
| Refrigerator | Hums or clicks, compressor will not start | Start capacitor / relay |
| Washing machine | Drum will not spin, motor hums | Run capacitor |
| Dryer | Drum will not turn, motor buzzes | Start capacitor |
| Air conditioner | Fan or compressor will not start | Run / start capacitor |
Four capacitor-testing mistakes
- Not discharging it. A capacitor holds a charge after the appliance is unplugged. Always discharge it with an insulated screwdriver before touching the terminals.
- Testing it in circuit. The meter can find a path around the capacitor through the rest of the circuit, giving a false reading. Remove it first.
- Ignoring a bulged case. A capacitor can read correctly and still be failing. A bulged top or leaking residue means replace it regardless.
- Replacing the capacitor but not the relay. On a refrigerator, the two work together. If one has failed, check the other.
Reading the capacitor label
The rating you compare against is printed on the case. Here is how to read it:
| Marking | Meaning |
|---|---|
| µF or MFD | Capacitance in microfarads — the value you test against |
| VAC or V | Voltage rating — must be equal or higher on the replacement |
| ±% | Tolerance — the acceptable range around the rating |
| Two terminals | Non-polarised — polarity does not matter |
| Three terminals | Often a dual run capacitor — test each pair |
A dual run capacitor has three terminals and two capacitance values printed on it. Test each pair of terminals and compare to the matching value. If either is low, replace the whole capacitor.
Testing a capacitor, step by step
A capacitor test takes two minutes once the capacitor is out of the circuit. The order matters.
- Unplug the appliance and wait five minutes.
- Discharge the capacitor by bridging the terminals with an insulated screwdriver.
- Set the meter to capacitance (µF) or resistance (Ω).
- Touch the probes to the terminals — polarity does not matter on a non-polarised capacitor.
- Read the value and compare it to the rating on the case.
- Watch the resistance mode if you are using it: the reading should climb toward infinity.
On the resistance setting, a good capacitor shows a rising reading as it charges, then settles at infinity. A capacitor that reads zero is shorted; one that reads infinity immediately is open. Both mean replace it.
What the readings mean
| Reading | Meaning | Action |
|---|---|---|
| Within ±10% of rating | Good | Reuse it |
| 10–20% low | Weakening | Replace it |
| More than 20% low | Failed | Replace it |
| Zero resistance | Shorted | Replace it |
| Infinite resistance | Open | Replace it |
| Bulged or leaking case | Failed | Replace regardless of reading |
A capacitor can read correctly and still be failing under load. If the case is bulged, the top is domed, or there is residue around the terminals, replace it even if the meter says it is fine. Heat damage is not always visible in the reading.
Safety first
A capacitor holds a charge after the appliance is unplugged, and a large start capacitor can deliver a painful shock. Always discharge it before touching the terminals, and always use a meter rated for the voltage you are working on. If you are not confident, this is a job for a technician — the part is cheap, but the shock is not.
Frequently asked questions
How do I know if a capacitor is bad?
Can I test a capacitor without discharging it?
What multimeter setting tests a capacitor?
Why does my fridge hum but not start?
Is it worth replacing a capacitor myself?
Related guides
How to Test Continuity With a Multimeter
The one skill behind every electrical diagnosis.

Refrigerator Start Relay: Test & Replace
The $15 part behind most “fridge won’t start” failures.