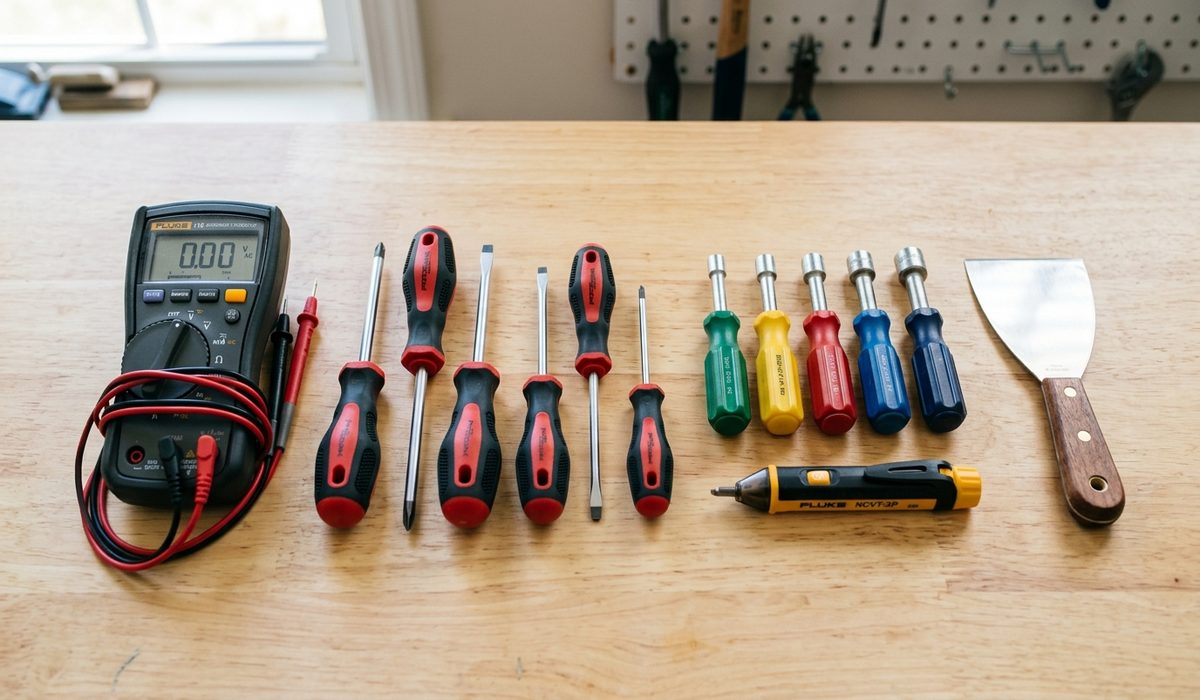
A light socket is a simple thing: two contacts that deliver power to a bulb. When a new bulb does not light, the socket is the next suspect, and a voltage test settles it in a minute.
This guide covers the test, the safety rules for working on a live ceiling fixture, and the apartment-specific constraints that make this a job worth doing carefully.
On this page
How a socket fails
A socket has two contacts: the brass center tab at the bottom, and the threaded aluminium shell. Both can fail.
- Bent center tab — the tab gets pushed down over time and stops touching the bulb's base. This is the most common failure and is often fixable by gently bending the tab back up with the power off.
- Corroded or burnt shell — heat and arcing pit the threads. A socket that looks scorched is a fire risk and must be replaced.
- Loose wire at the terminal — the connection behind the socket has worked loose. This is a wiring fault, not a socket fault.
- Cracked housing — the plastic or ceramic body has cracked, exposing live parts.
Before any of this, swap in a bulb you know works. It is the same advice as for a light switch, and it is just as often the answer.
Safety first
A ceiling fixture is a live circuit at head height, which makes it one of the more awkward live tests. NFPA 70E and OSHA both require de-energizing before touching parts; the voltage test is the narrow exception.
- Use a CAT III meter.
- Work from a stable step stool, not a chair.
- If the fixture is a ceiling fan with a light, the wiring is more complex — consider leaving it.
- If the socket is scorched or smells burnt, stop and report it.
The voltage test
- Turn the wall switch on.
- Set the meter to AC voltage, 200 V or higher.
- Touch the black probe to the threaded shell (the metal screw part).
- Touch the red probe to the center contact at the bottom of the socket.
- Expect about 120 V.
If you read 120 V, the socket is receiving power and the fault is the socket's contact with the bulb — usually the bent center tab. If you read 0 V, the fault is upstream: the switch, the wiring, or the fixture's connection.
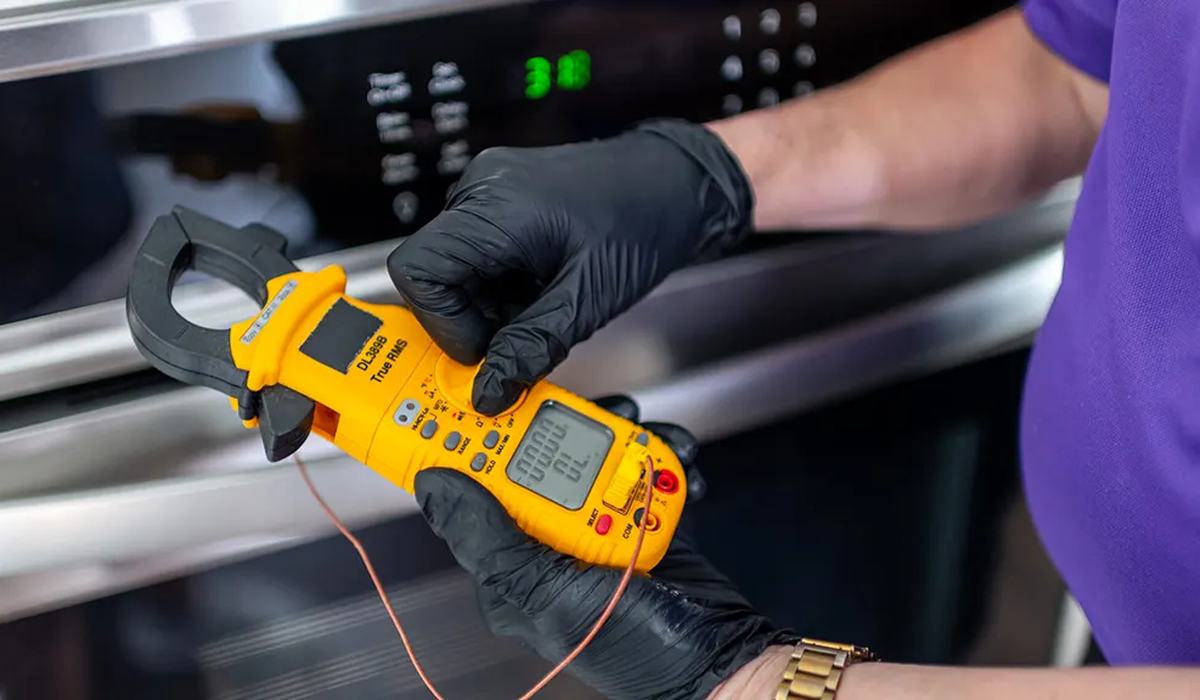
Digital Multimeter With AC Voltage
Auto-ranging AC voltage with a clear backlit display. The essential meter for any fixture or socket test.
Check Price on Amazon →Reading the results
| Test | Reading | Meaning | Action |
|---|---|---|---|
| Center to shell, switch on | ~120 V | Socket has power | Check the center tab |
| Center to shell, switch on | 0 V | No power to socket | Test upstream |
| Center to shell, switch off | 0 V | Switch is working | Good |
| Center to shell, switch off | ~120 V | Switch is bypassed or faulty | Report it |
| Shell to ground | ~0 V | Shell is grounded | Good |
The apartment angle
- Ceiling fixtures are usually the landlord's. You can test, but replacing a fixture is a modification.
- Replacing a socket is often acceptable if it is a like-for-like swap on a tenant-accessible fixture.
- Old fixtures may have no ground. A metal fixture with no ground wire is a shock risk if a wire comes loose.
- Ceiling fans are a different job. They combine a motor, a light and often a remote receiver. Leave them to a professional.
Mistakes to avoid
- Not swapping the bulb first. It is the most common cause and the cheapest fix.
- Testing with both hands. Keep one hand clear of the fixture.
- Bending the center tab with the power on. Kill the switch and verify dead first.
- Ignoring a scorched socket. Heat damage means the socket is a fire risk.
- Working from a chair. Use a stable step stool.
Testing the fixture and the switch
If the socket reads 0 V, the fault is upstream, and the next step is to find out how far upstream. The fixture's supply wires are the next test point.
- Turn the switch off and confirm dead with a non-contact tester.
- Remove the fixture from the ceiling, supporting it so the wires are not strained.
- Turn the switch on and test the fixture's supply wires: black (hot) to white (neutral). Expect about 120 V.
- If the supply wires are live, the fault is inside the fixture — the socket or the fixture's internal wiring.
- If the supply wires are dead, the fault is the switch or the circuit.
This two-step test is what separates a fixture fault from a switch fault, and it is worth doing before you buy any parts. A fixture that has live supply wires but a dead socket needs a socket. A fixture with dead supply wires needs the switch investigated.
One caution: a ceiling fixture is often heavier than it looks, and the wires are short. Support the fixture with one hand or a helper before you disconnect anything, or you will be holding the weight of the fixture on the wires — which is how wires break and fixtures fall.
LED bulbs and socket compatibility
A modern LED bulb can fail in ways an incandescent never did, and the symptom often looks like a socket fault.
- Flicker at low dimmer settings — the dimmer and the LED are not compatible. Many dimmers need a minimum load, and a single LED is below it.
- Buzzing — usually the dimmer, not the bulb. A dimmer rated for LEDs fixes it.
- Short life — heat kills LEDs. An enclosed fixture traps heat and shortens an LED's life dramatically. Use a bulb rated for enclosed fixtures.
- Works in one socket, not another — a bent center tab in the second socket. The bulb is fine.
The center tab is the most common culprit. It is a small brass tab at the bottom of the socket, and it gets pushed down over years of bulb changes. With the power off, you can gently lift it back up with a small flat screwdriver. That single fix resolves a surprising number of “dead socket” complaints.
If the socket is scorched, cracked, or the shell is loose, do not try to fix it. A damaged socket is a fire risk, and a replacement socket is a few dollars. In a rental, a like-for-like socket swap on a tenant-accessible fixture is usually acceptable — but a scorched socket is worth reporting, because scorching means something upstream is wrong.
Frequently asked questions
How do I test a light socket with a multimeter?
Why does my light socket have power but the bulb does not light?
Can I replace a light socket myself in a rental?
What voltage should a light socket read?
Is it safe to test a ceiling light socket?
Related guides
How to Test a Light Switch With a Multimeter
Two tests that separate a bad switch from bad wiring.
How to Test Continuity With a Multimeter
The 30-second beep test behind every electrical diagnosis.