A light switch is one of the few electrical parts in an apartment you can diagnose yourself without touching the building's wiring. It is also a common failure: a switch that clicks but does not light the bulb, a switch that feels loose, or a switch that is warm to the touch.
This guide runs the two tests a technician uses, in order — the live voltage test and the dead continuity test — with the safety rules that matter when you are working in a rental you do not own.
On this page
Why a light switch fails
A switch is a mechanical contact. Every time you flip it, two metal surfaces touch and separate. After a few thousand cycles the contacts pit, the spring weakens, and the switch either stops making contact or starts arcing.
The symptoms map neatly onto the cause:
- Clicks but no light — the contacts are not closing. Usually the switch itself.
- Light flickers or dims — a loose connection, often at the terminal screw rather than inside the switch.
- Warm or buzzing switch — arcing inside. Stop using it and replace it.
- Light works from one switch but not the other — a three-way switch problem, not a simple single-pole fault.
Before you blame the switch, rule out the bulb. Swap in a bulb you know works. It sounds obvious, and it is the single most common wasted trip.
Safety first
The voltage test is done with the circuit live. That is the whole point of it, and it is also the risk. NFPA 70E treats any work on or near an energized conductor as electrically hazardous, and OSHA's electrical safety rules require you to de-energize before touching parts — the live test is the narrow exception, done with one hand and insulated tools.
- Turn the switch off before removing the faceplate, then confirm dead with a non-contact tester.
- Use a meter rated CAT III for panel and receptacle work — a cheap meter can fail violently on mains voltage.
- Never work on a switch you cannot isolate. In a rental, if the breaker is not labelled, find it first.
- If the box is metal and crowded, stop. Call the landlord.
Test 1 — the live voltage test
This test answers one question: is power reaching the switch? If it is, the switch is the suspect. If it is not, the problem is upstream — the breaker, another switch on the circuit, or the wiring.
- Set the meter to AC voltage (the V with a wavy line), range 200 V or higher.
- Remove the faceplate. Do not unscrew the switch from the box yet.
- Touch the black probe to the bare ground wire or the metal box, and the red probe to the hot terminal (the brass screw, usually with the black wire).
- With the switch on, you should read about 120 V.
- Flip the switch off and test the same terminal again. On a correctly wired single-pole switch, the hot terminal stays live at 120 V — the switch breaks the circuit on the other side.
- Now test the other terminal (the load side). It should read 120 V when the switch is on and 0 V when it is off.
Test 2 — the dead continuity test
The continuity test is the definitive one, because it tests the switch in isolation. It must be done with the power off.
- Turn the breaker off and confirm the switch is dead with a non-contact tester.
- Label and disconnect the two switch wires (or leave them on and test at the screws — but disconnecting is cleaner).
- Set the meter to continuity (the sound-wave icon). Touch the probes together to confirm the beep.
- Touch one probe to each switch terminal.
- Flip the switch on — you should hear a beep.
- Flip it off — the beep should stop.
A switch that beeps in both positions is shorted. A switch that never beeps is open. Either way, replace it — a single-pole switch costs a few dollars and takes five minutes.
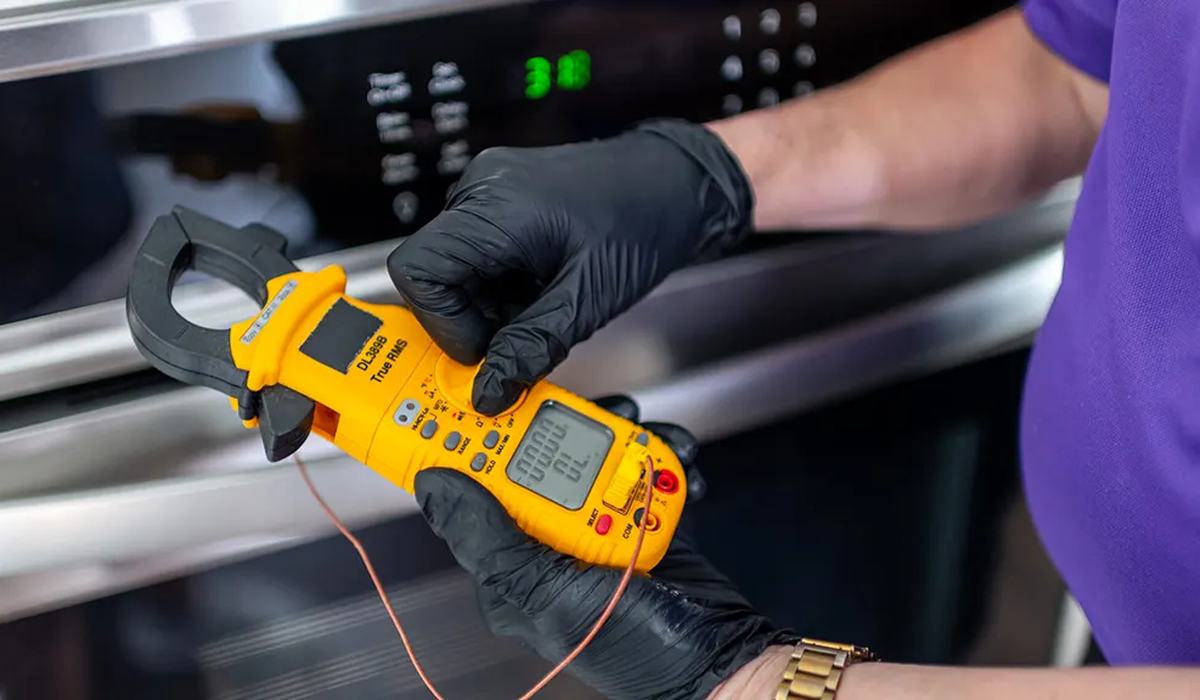
Digital Multimeter with Continuity Beeper
Auto-ranging, loud beeper, CAT III rated. The one meter that covers every test in this guide.
Check Price on Amazon →Reading the results
| Test | Reading | Meaning | Action |
|---|---|---|---|
| Hot terminal, switch on | ~120 V | Power reaching the switch | Good |
| Hot terminal, switch off | ~120 V | Correct single-pole wiring | Good |
| Load terminal, switch on | ~120 V | Switch is passing power | Good |
| Load terminal, switch off | 0 V | Switch is breaking the circuit | Good |
| Continuity, switch on | Beep | Contacts closed | Good |
| Continuity, switch off | No beep | Contacts open | Good |
| Continuity, both positions | Beep / beep | Shorted switch | Replace |
| Continuity, both positions | No beep / no beep | Open switch | Replace |
The apartment angle
Renters face three constraints a homeowner does not, and they change how you approach this job.
- You cannot rewire. Replacing a switch is usually fine; running new cable is not. If the fault is in the wall, that is the landlord's job.
- Breaker panels are often shared or locked. In a multi-unit building the panel may be in a common area. If you cannot isolate the circuit, stop.
- Old wiring is common. Pre-1970s apartments may have aluminium branch wiring or no ground conductor at all. Aluminium needs a special connector; a missing ground means the voltage test must reference neutral instead.
Five mistakes to avoid
- Testing with both hands. Keep one hand away from the circuit at all times.
- Skipping the bulb swap. Half of “dead switch” calls are dead bulbs.
- Not confirming dead before the continuity test. A continuity test on a live circuit is meaningless and dangerous.
- Using a cheap meter on mains voltage. Use a CAT III meter for anything in a wall box.
- Forcing a switch back into a crowded box. Pinched wires arc. If it will not seat, the box is overfull — call the landlord.
Dimmers and three-way switches
A dimmer is not a switch, and it does not test the same way. A dimmer contains a triac and a small circuit, and it needs a minimum load to work. A dimmer with an LED bulb that is too low-wattage will flicker, buzz, or refuse to turn on at all — and it will test fine on a meter.
If you have a dimmer that misbehaves, the first thing to check is the bulb. Many dimmers require a minimum load of 25–40 W, and a single 9 W LED is below that. Swapping in a higher-wattage bulb, or a dimmer-rated LED, usually fixes it.
A three-way switch is a different circuit entirely. Two switches control one light, and the wiring between them is a pair of travellers. Testing a three-way switch means testing the common terminal against each traveller in both switch positions. The pattern is: the common is always connected to exactly one traveller, and flipping either switch swaps which one. If the common is connected to both travellers, or to neither, the switch has failed.
Three-way switches are the most commonly miswired switch in a home, and a miswire produces a light that works from one switch but not the other. If that is your symptom, the fault is the wiring, not the switch — and in a rental, that is a maintenance request.
What you need for this job
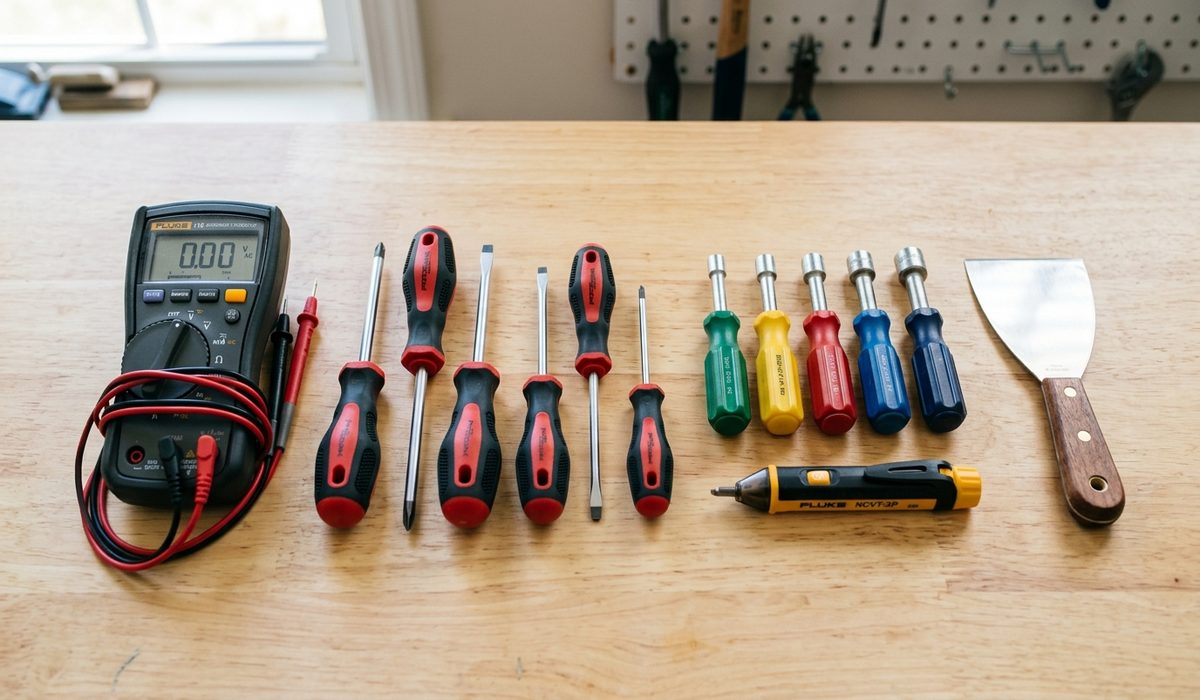
The tool list for a light switch test is short, and everything on it is worth owning for the rest of the apartment.
| Tool | Why you need it | Approx price |
|---|---|---|
| CAT III digital multimeter | AC voltage and continuity, safely rated for wall boxes | $30–$80 |
| Non-contact voltage tester | Confirms dead before you touch anything | $20–$30 |
| Insulated screwdriver set | Terminal screws and faceplate screws | $15–$30 |
| Safety glasses | Arc and debris protection | $10 |
| Headlamp | Lights the box and leaves both hands free | $25–$40 |
The non-contact tester is the one people skip and the one that matters most. It costs about twenty dollars and it is the difference between knowing a circuit is dead and assuming it is. Every live test in this guide should be preceded by a non-contact check.
A replacement single-pole switch costs a few dollars. If you are confident and the lease allows it, a like-for-like swap is a ten-minute job. Take a photo of the wiring before you disconnect anything, and match the new switch's terminals to the old one exactly.
Frequently asked questions
How do I test a light switch with a multimeter?
Can I test a light switch without removing it?
Why does my light switch have power but the light does not work?
Is it safe to replace a light switch in a rental?
What should a light switch read on a multimeter?
Related guides
How to Test Continuity With a Multimeter
The 30-second beep test behind every electrical diagnosis.
How to Use a Multimeter Safely
The safety habits that keep a live test from going wrong.